Helen is the most beautiful woman!

Helen, meaning light, who is also a demigodess according Greek mythology. Advanced measurement solutions represented by scanners, using light in 3D measurement. A structured light patterns – stripes, if you like call it Zebra is projected onto an object, when their distorsions are captured by cameras, from multiple angles. Angles between two cameras introduce triangulation […]

Before you ruin your metrology system, read this!

Most of the businesses have to be very considerate about their budged. Making profit, quality management system needs to be adjusted in a cost effective way. The most common mistake what managers do, in order to save, is underestimating importance of metrology system and neglecting them. It all starts with extending calibration periods, reducing samples […]

Calibration Explained

Just like every other products, measuring instruments also losing their properties over time. How time, environment, usage, or other conditions influence properties will be known through performing regular calibrations. By calibrating instrument, we can determine stability, drift, or other properties to predict reliability of measured data and measuring instrument itself.  According my common experience I […]

Feel the Accuracy, Understand Precision

In our everyday language as well as in industrial world quite often used terms are accuracy and precision. Usually these two words are associated either with measurement or manufacturing. What is the accuracy of this measurement? Or How precise is your manufacturing? Our first thought is related rather to a level of quality, something related […]

Advanced Dimensional Measurement in bullet points

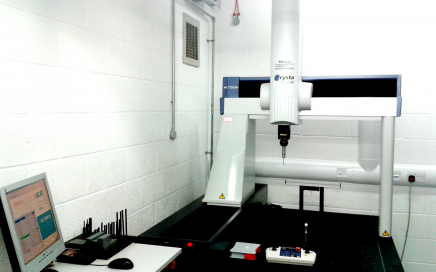
Method of measurement: Contact (point-based systems) Coordinate Measurement Machine (+) High accuracy measurement (+) Good for measurement of geometrical features: Diameter of Holes Diameter of Pins Cylindricity Roundness Coaxiality Concentricity (-) Restricted measurement area (-) Operated under temperature-controlled environment (-) Component to be measured must be allowed to be stabilized at that temperature (-) Access […]

About First Article Inspection

Products manufactured first time, coming off either from work station or from assembly line are called first article and they are subject of inspection. Purpose of first article inspection is to check, if part or assembly is made according specification represented by drawing and by other physical, functional requirements and legal regulations. Planning, purchase order […]

Understand Engineering! Let’s study GD&T!

Geometric Dimensioning and Tolerancing. Among engineers is a kind of engineering language. This is the way how we are expressing our ideas to send it to production. Obviously everybody who is working at design, manufacturing or quality department need to understand that and apply it. Sometimes can happen that something went wrong, may be just […]

Geometric Dimensioning and Tolerancing course!

Do you speak Engineering? You don’t? Get an introduction of GD&T ASME 14.5M – 2009  combined with measurement techniques you need to know! I am available for face to face, group or online courses. Ask me and I teach you Engineering language!

Temperature Coefficents

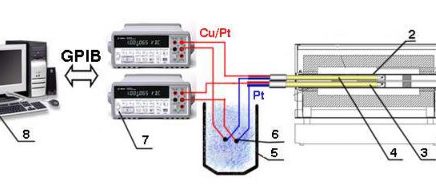
Did you send your RTD for calibration? Did you get Certificate of Calibration? and now you have realized your unit ask for coefficients? So are you in doubt what to do? Are you calling your laboratory, but they do not want to deal with you? Or just they do not want to share with you […]